Installing a kitchen faucet can be a daunting task, but with the right tools and instructions, it can be done without the help of a professional plumber. In this 1000-word essay, we will guide you through the process of installing a kitchen faucet step-by-step.
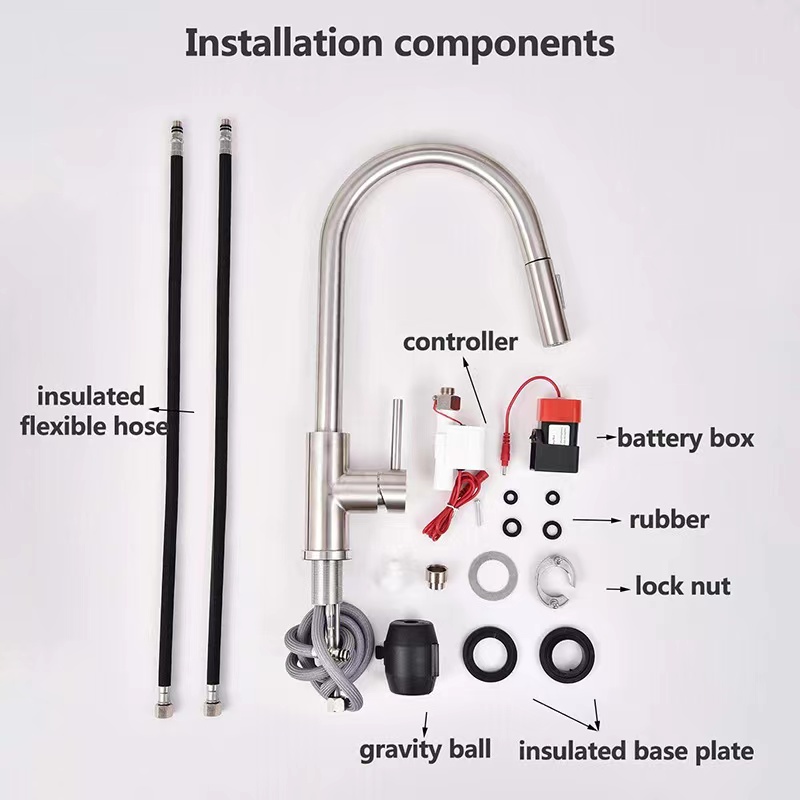
Before starting the installation process, make sure you have all the necessary tools and materials, including a new kitchen faucet, adjustable wrench, plumber’s putty, Teflon tape, basin wrench, screwdrivers, and a bucket.
Step 1: Turn Off Water Supply
The first step in installing a new kitchen faucet is to turn off the water supply. This can be done by locating the shut-off valves under the sink and turning them off. If you don’t have shut-off valves, you will need to turn off the main water supply valve to your home.
Step 2: Remove Old Faucet
Next, you need to remove the old kitchen faucet. To do this, start by disconnecting the water supply lines from the faucet using an adjustable wrench. Then, use a basin wrench to remove the mounting nuts that hold the faucet in place. Once the mounting nuts are removed, lift the old faucet out of the sink.
Step 3: Clean the Sink
Before installing the new faucet, clean the sink thoroughly to remove any debris or old putty. You can use a scouring pad or a putty knife to scrape away any residue.
Step 4: Install New Faucet
Once the sink is clean, you can begin installing the new kitchen faucet. Start by placing a small amount of plumber’s putty around the base of the faucet. Then, place the faucet through the mounting hole in the sink and tighten the mounting nuts with a basin wrench. Make sure the faucet is properly aligned and level before tightening the mounting nuts completely.
Step 5: Connect Water Supply Lines
Next, you need to connect the water supply lines to the new faucet. Start by wrapping Teflon tape around the threaded ends of the water supply lines. Then, connect the hot and cold water supply lines to the appropriate faucet inlets and tighten them with an adjustable wrench.
Step 6: Turn On Water Supply
After the water supply lines are connected, turn on the water supply valves or the main water supply valve. Allow the water to run for a few minutes to flush out any debris or air bubbles.
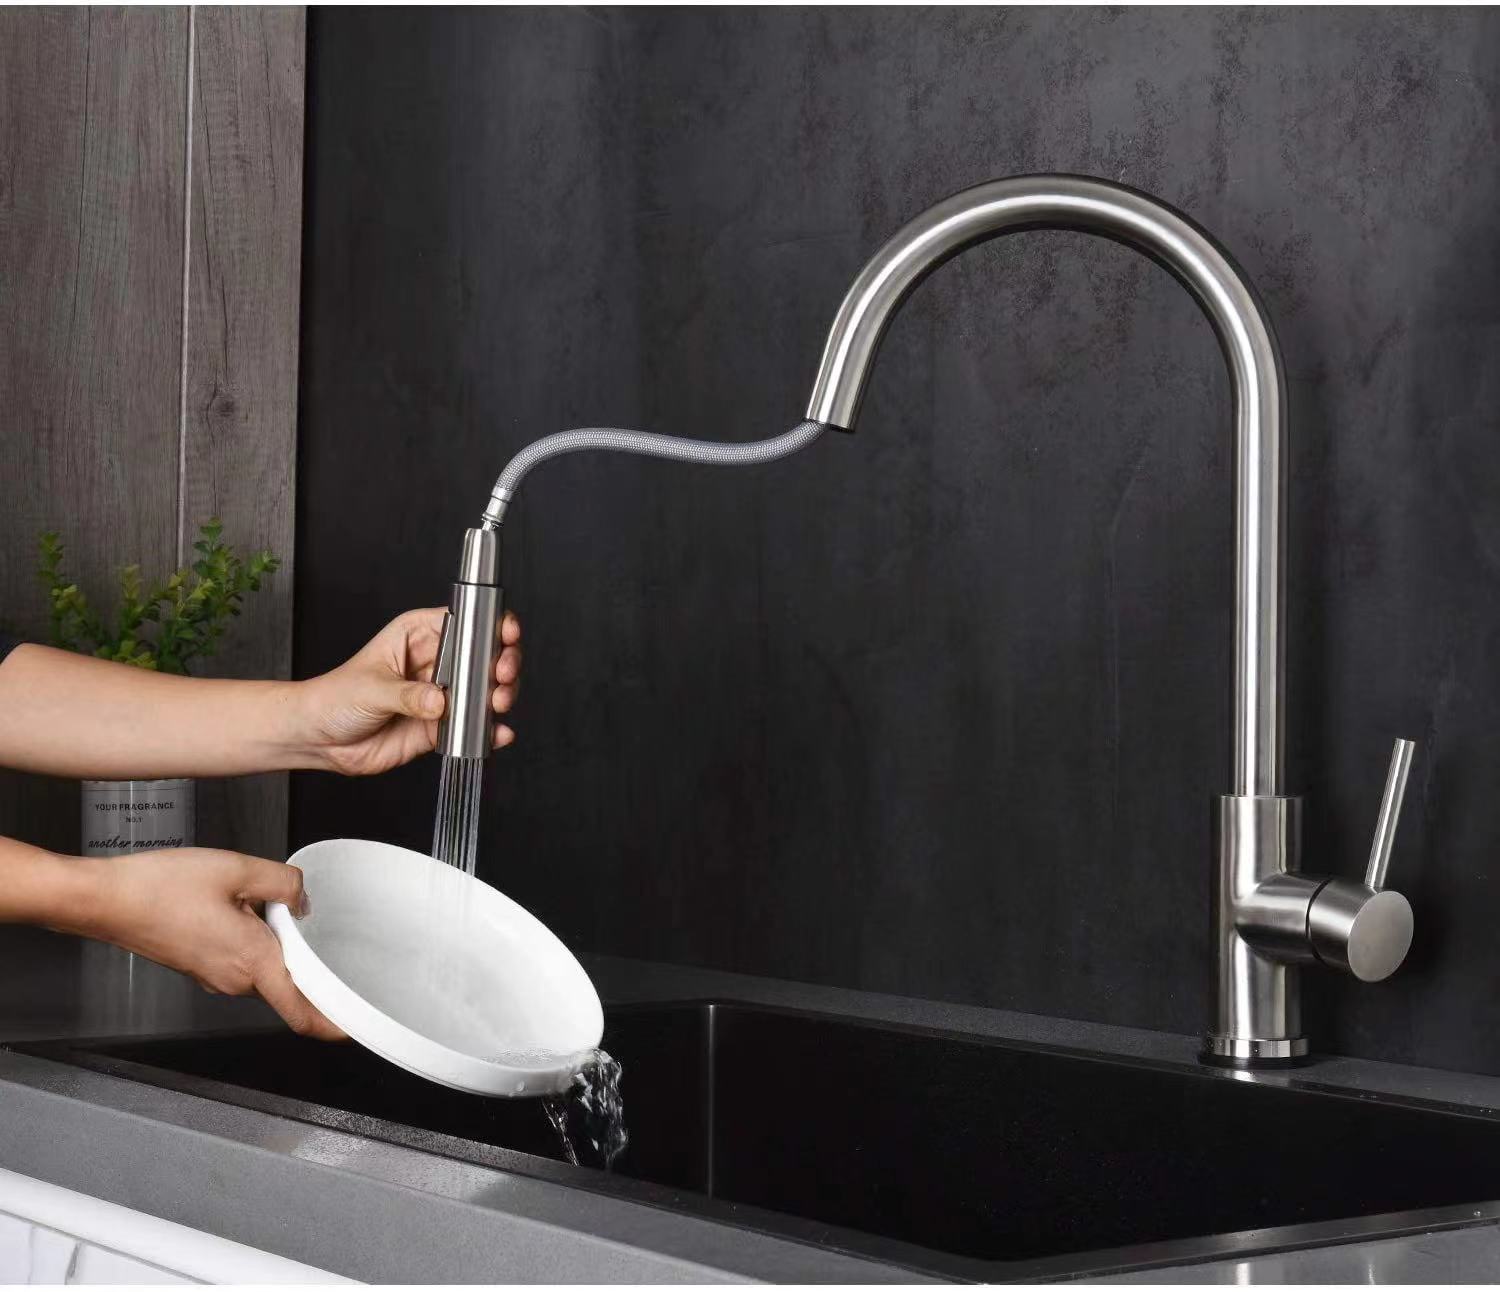
Step 7: Test the Faucet
Finally, test the new kitchen faucet to make sure it’s working properly. Turn on the hot and cold water separately to check the flow and temperature. If there are any leaks or issues, turn off the water supply and make any necessary adjustments.
In conclusion, installing a kitchen faucet is not as difficult as it may seem. By following these seven steps, you can successfully install a new faucet in your kitchen without the need for a professional plumber. Remember to turn off the water supply before starting the installation, clean the sink before installing the new faucet, and test the faucet after installation to ensure it’s working properly. With a little bit of patience and attention to detail, you can have a brand new kitchen faucet up and running in no time.